
Equipment
There are numerous tools that I use when grooming my dogs. Some of these I would call a neccessity for every Cocker and others are more optional for the fine work required for the show ring.
To save confusion, I will only list the essentials.
To save confusion, I will only list the essentials.
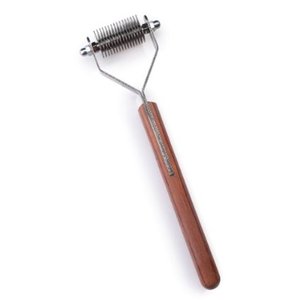
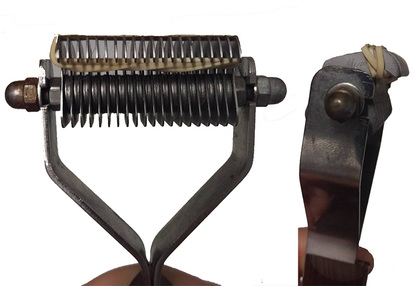
Mars Coat King #20
|
|
A Coat King is one of the best (if not the best) tools to use on your cockers.
The Coat King works to strip out the dead coat. I use it primarily for the jacket only (the back, the sides, down the front of the front legs, down the sides of the back legs, the head). Some do use it on the feathering, but it's far suited to be used on the jacket.
You will achieve much better results on your dog and less damage to the coat if you use the Coat King whilst the dog is wet and with an elastic band.
The Coat King is available to purchase from Mars. The correct one to get is the Original#20.
marsgroomingproducts.com.au/pet-grooming-products/coat-king/mars-coat-king-original-20-blade
Nail Clippers / Nail Files / Dremels
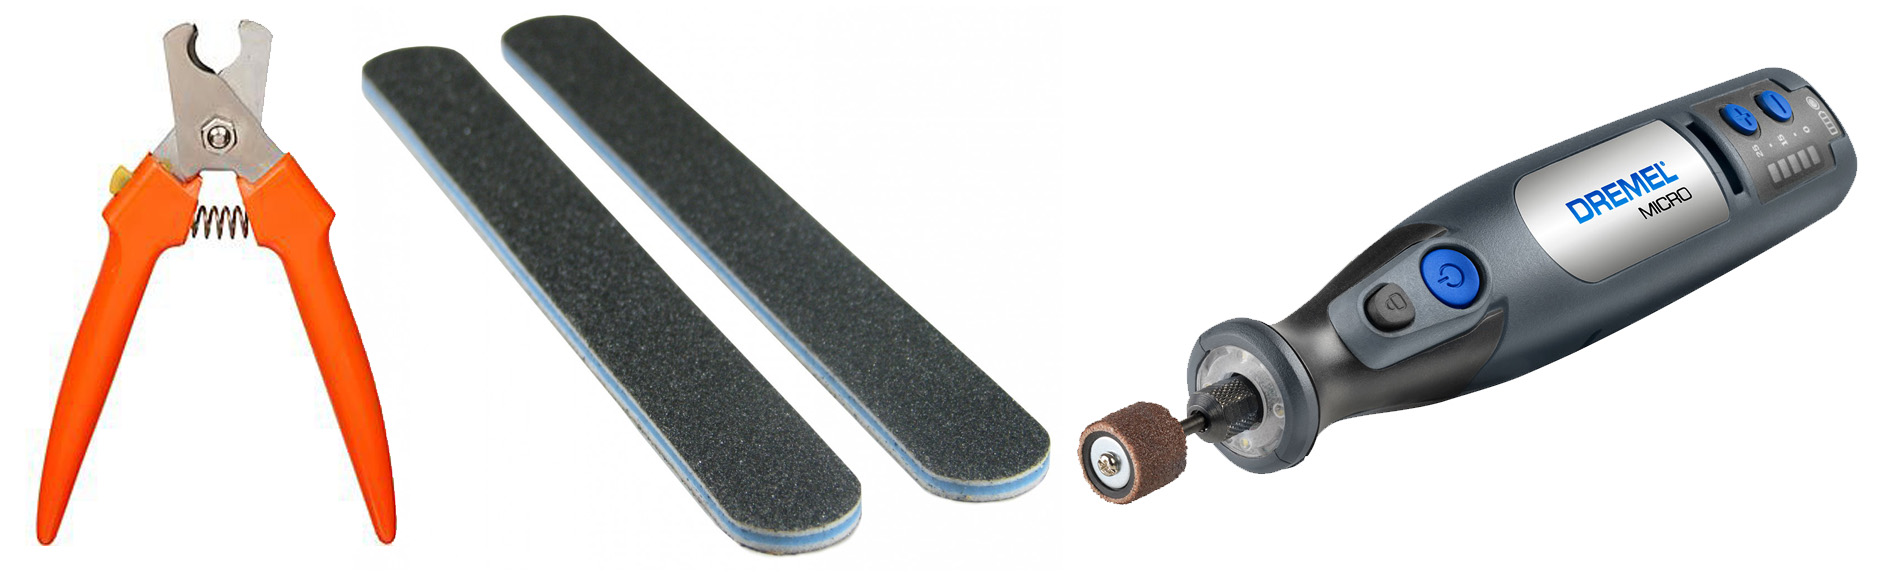
These are an essential with any dog regardless of it's breed. Poor nail maintenance can lead to posture and joint issues on a dog so it is very important to keep their nails short.
Some dogs will wear their nails down mostly all by themselves with the need only to do the dew claws, but many do need their nails shortened.
I start trimming all of my puppies nails from the age of 3 - 4 weeks old. It is important that owners continue to handle their puppies and their feet their whole lives so that shortening the nails on your dog is not a traumatic experience for the dog.
If you're using clippers, I recommend using the style like above where they look like scissors, as opposed to the guillotine style of clippers. They're easier to do fine work with, put less pressure on the dog's nail and are able to be sharpened. If you are using nail clippers and they are blunt, it is going to be a very unpleasant experience for the dog.
I would also recommend you keep on hand somewhere easily enough styptic powder, cornflour or condis crystals, just in case you do cut too far back and hit the quick which will bleed. These will stop the bleeding.
If your dog is very sensitive and difficult to work on their nails, start with nail files. This way your dog is used to you handling their feet and touching their nails. The nail files are also great for smoothing the nails after using nail clippers. These are just your ordinary nail files that are normally used by people or you can make your own by gluing some sandpaper to a board.
I personally use a dremel. It does not have to be the Dremel brand, but any rotary tool. There are dog specific rotary tools on the market such as the Pedipaws etc but I do not actually find them to be that easy to use.
The attachment on the head of the dremel, is sandpaper. 120 grit is a good medium to start with. You want your dremel set to 10,000RPM. It will make noise and the dog may not like the noise, but they can be desensitised to it.
There is a good reference group on Facebook about nail maintenance if you are looking for further help. www.facebook.com/groups/nail.maintenance.for.dogs/
Scissors
No real image required here! Regardless of how you are going to groom your dog, you're going to need a pair of scissors.
Scissors specifically for cutting hair (such as purchased from Priceline etc) will work. Please don't try using scissors that you'd normally use for dressmaking or art and crafts. My main recommendation would be a pair that has a blunt (slightly rounded) tip so that you don't stab yourself or part of the dog by accident.
I have five pairs of scissors that I use frequently when grooming my dogs. For pet owners, five pairs of scissors is a big investment and the job can be done with two pairs (one pair of straight scissors and one pair of thinners), but as a necessity, a single pair of straight scissors is required. By straight, I mean that the blade is straight. I also use curved scissors but they're not the work horse of the family. The thinning scissors are used for blending.
Brushes, Combs & Rakes
If you are going to have your dog completely clipped all over, you won't really need any of these if you clip every six weeks. I would recommend that you probably at least own a metal comb. They're good for brushing out bindiis and even on a clipped dog, bindiis seem to get in there!
|
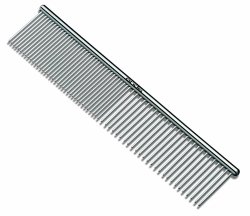
Metal Comb
You will need a metal comb for your dog. This you will need to buy from a pet shop / supply store as you need a fairly strong tooth on the comb and you won't find those in human hair stores. Places like Big W and Kmart also tend to sell them as well. The comb pictured has two different spacings for teeth. The larger spacing is good for knots in their initial combing, but the most commonly used side is the smaller spacing. The smaller spacing should have a gap of between 1mm to just over 1mm (if you like a ruler up, you might just see both lines inside the gap but no more) |
|
|
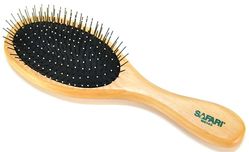
Pin Brush
A pin brush is used for brushing through the dog's feathering. You can use a human hair brush for this (one that you would use on long hair) if you have an old brush and are not looking to buy another one specifically for your dog. You will notice whether the bristles are strong enough, but for the most part, most of them should be ok. Knots will still need to be removed with a comb. |
|
|
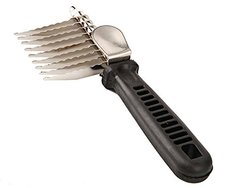
Dematting Comb / Dematting Rake / Matt Breaker
These are excellent for knots! You simply place these inside/under the knot and pull it through the knot (some times you need to move it back and forth a little) and it will break the knot up. Be careful, they're very sharp! When removing the hair, always remove from the back side of the tool and not the front. The front are like blades and do cut and it hurts! |
|
|
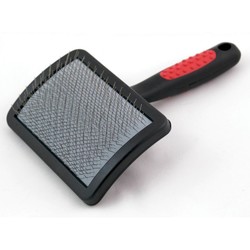
Slicker Brush
The slicker brush is a finishing brush and great for removing the fine loose hairs on your dog. It is not designed for removing knots but it is a great tool to use at the end of your grooming session. A slicker brush has very fine pins and lots of them. You can get them with a little white ball on the tip (some dogs prefer that) or without it. You will likely find that more come without the white tip than those with it. The pins will usually be slightly bent at the end which is what gives the brush it's strength. |
|
Clippers & Blades
Whether you are clipping off the entire dog, or simply doing it's head of ears, clippers are part of the Cocker's essential grooming tools (unless you're going to do the face and ears with thinning scissors but that is a lot of work!)
Clippers
You will require pet specific clippers and blades. Whilst you can probably use dog clippers on humans, human clippers aren't suited for dogs.
There are many reputable brands out there such as Oster, Andis, Wahl & Heiniger to name a few. Prices will start around the $200 mark and go from there. A good reference website is Clipper World.
The main feature I would recommend, is that the blades are interchangeable. That is, the blade itself clips on and off and doesn't have the plastic comb covers that you see with human hair clippers. This will allow you to change your blades easily and if clipping your dog, allow you to have two blades so that you can rotate them when the one that you are using, gets hot.
Blades
#10 - The #10 blade is a good all round blade. I use a #10 for the majority of my grooming whether it be grooming for a show, or clipping off a retired show dog.
The #10 is used on the muzzle, ears, neck and upper chest area on my show dogs and all over for my retired dogs.
#7 - The #7 is helpful if you're wanting to clip your dog all over but are new to doing so. The #7 just seems to get less lines in it as it leaves the hair a little longer. This particularly works well if you don't want to thin / strip the top of the dog's head, but you'd still like it nice and short, just not super short.
#5 - As with the #7, the #5 has even more give in it and will keep quite a bit of length on your dog. It can be a little harder to clip with (especially if your dog has developed knots) because of it being longer.
Ok... so you've got all of the above? Let's get grooming!
Grooming
Before you start, always make sure your dog has been freshly bathed. Dirty dogs dull tools very quickly.
Jacket
Grab your Coat King whilst your dog is still damp, start at the neck and work your way down the dog.
You want long strokes rather than short strokes. Be mindful not to go over the same spot continuously. Work your way around the dog, cleaning the fur out of the Coat King as you go.
If you've never stripped the dog before, you'll quickly be gathering a lot of fur!
As the dead coat comes out, you'll find it easier and easier to move the Coat King through.
Go with the hair rather than against the hair.
Once you've removed as much as you think is coming out, dry the dog (or let them dry) before you move onto the next part.
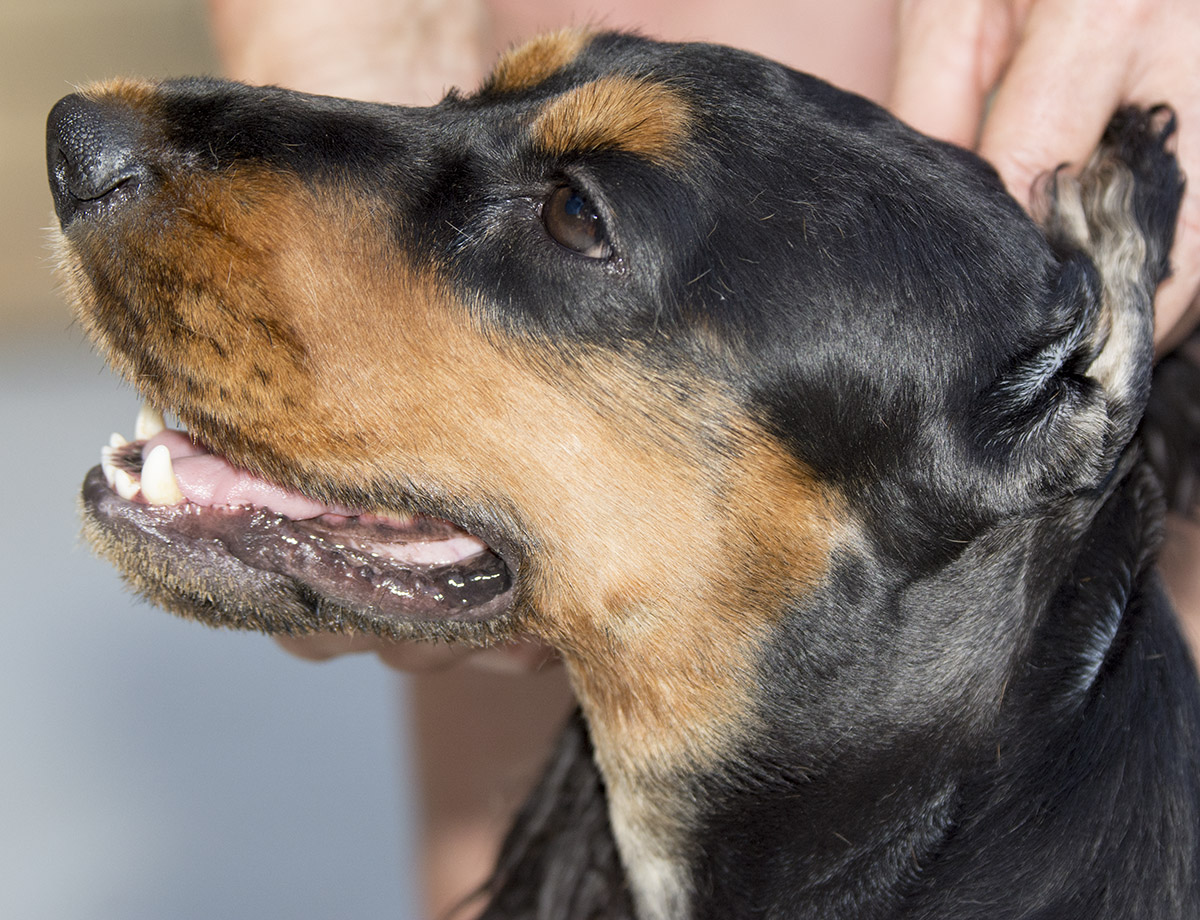
Head, Neck and Ears
|
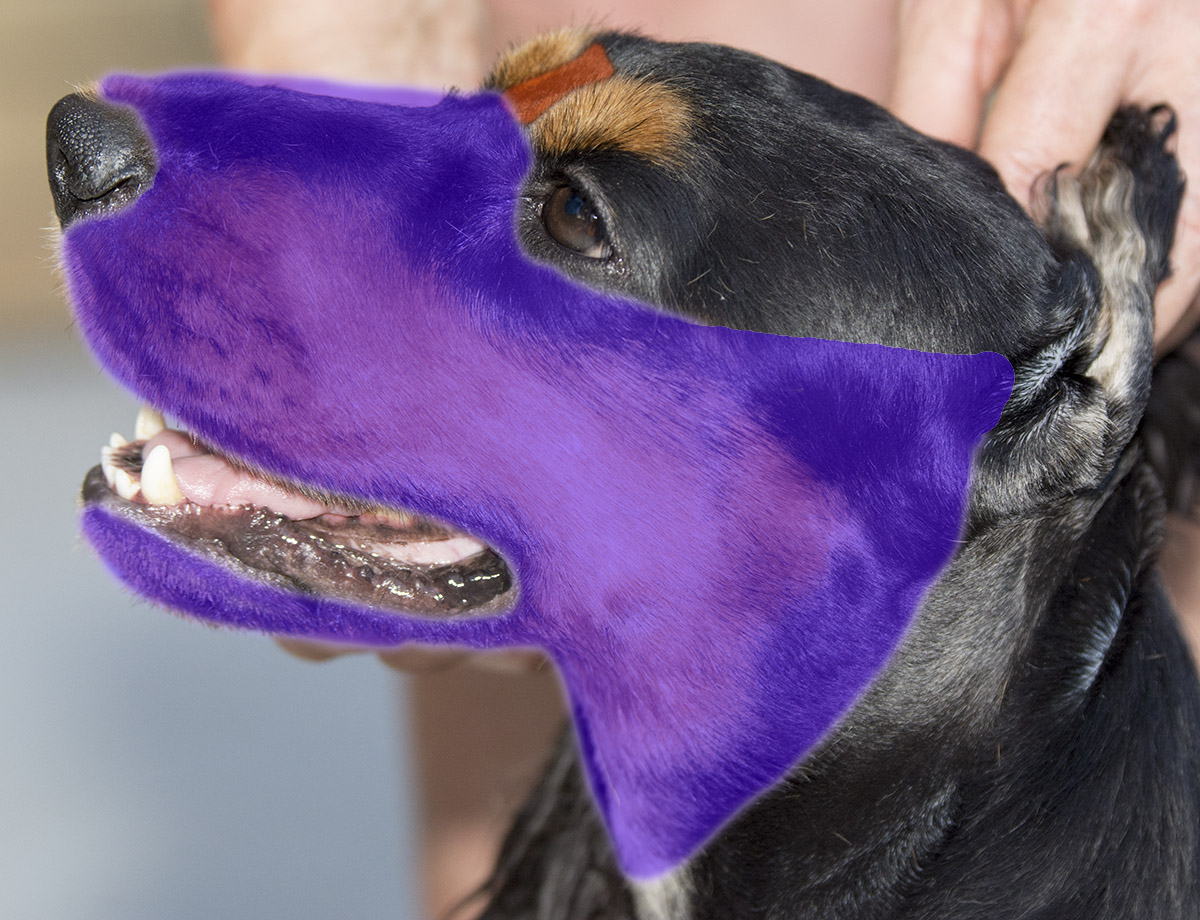
Before using clippers or scissors, your dog needs to be dry.
Start with a #10 blade and clip the muzzle. Top, sides and underneath. (as shown in blue) Be sure to go with the hair. You stop clipping in between your dog's eyes. This is known as the "stop" (as shown in red). The stop should be kept nice and short and clean, but be careful not to go too high or you'll remove your dog's eyebrows! Make sure that you do pay attention whilst you're clipping near their eyes. |
|
|
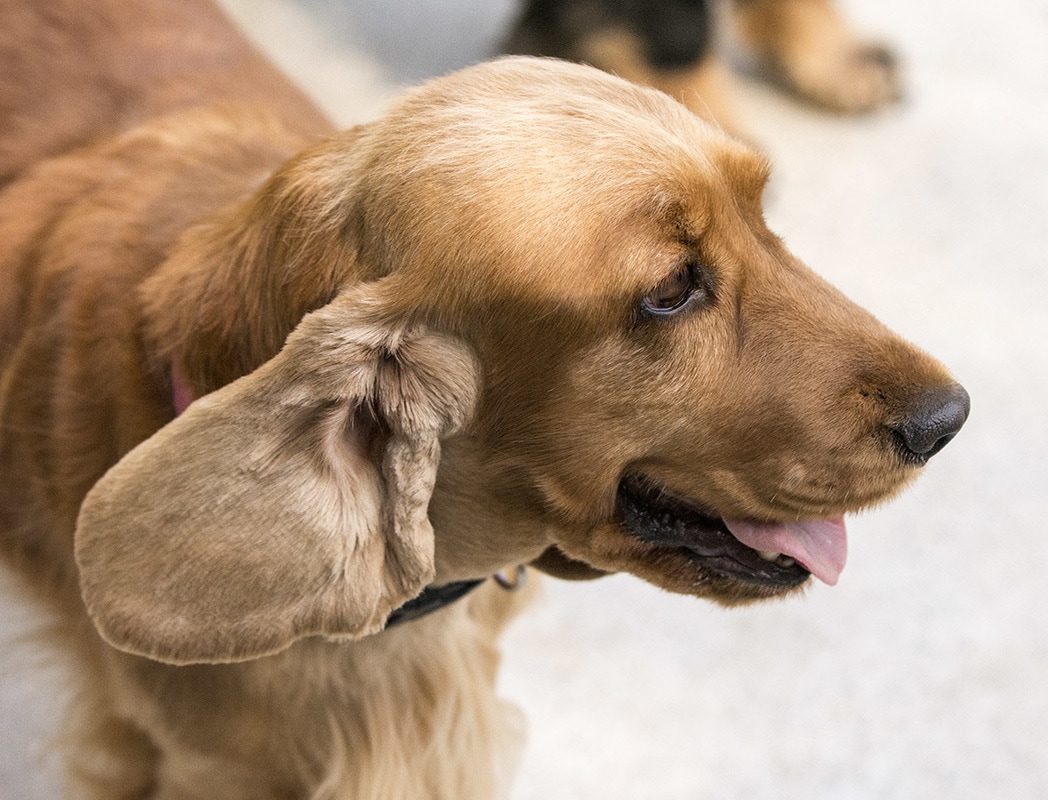
Then move onto the ears. A Cocker has it's ears clipped 1/3 of the way down the "leathers". The leathers are the actual ear, so if you find how long your dog's ear is without counting the feathering, you want to to clip 1/3 of that distance. You need to do this all the way around the ear so the sides and underneath.
On a non show dog, I would recommend clipping a little further underneath as this really does help with air circulation and help to keep ear infections away. From here you clip under the ear on the side of the neck also. Just a little bit. It gets blended later. |
|
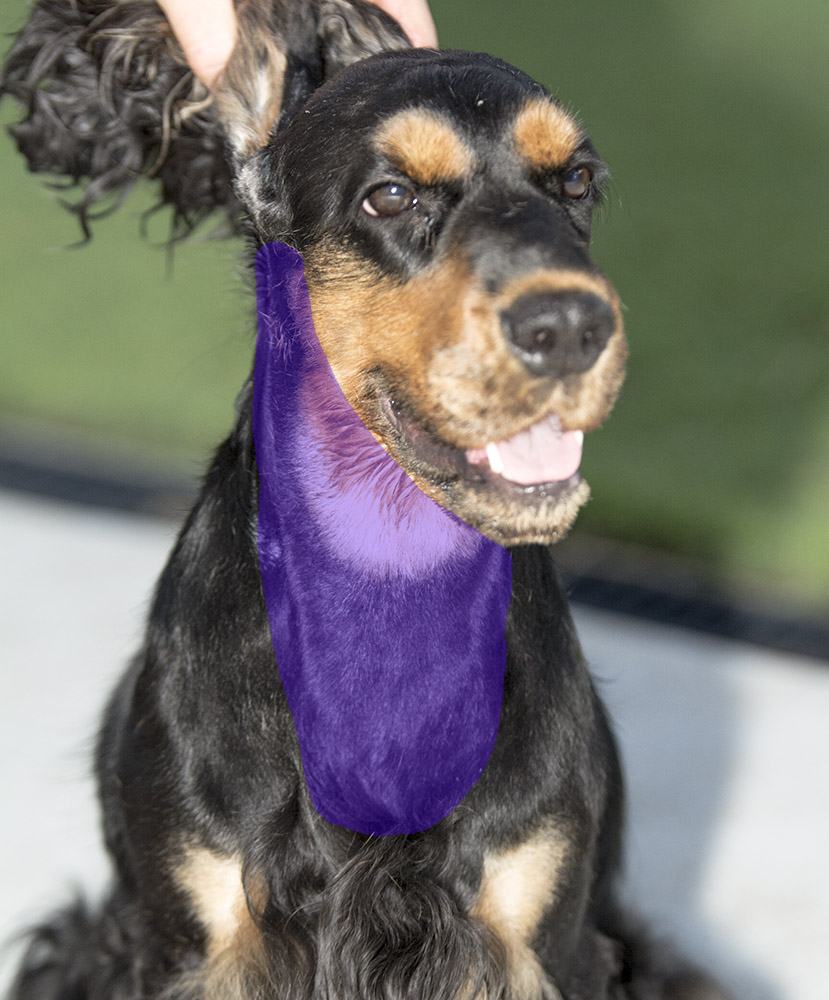
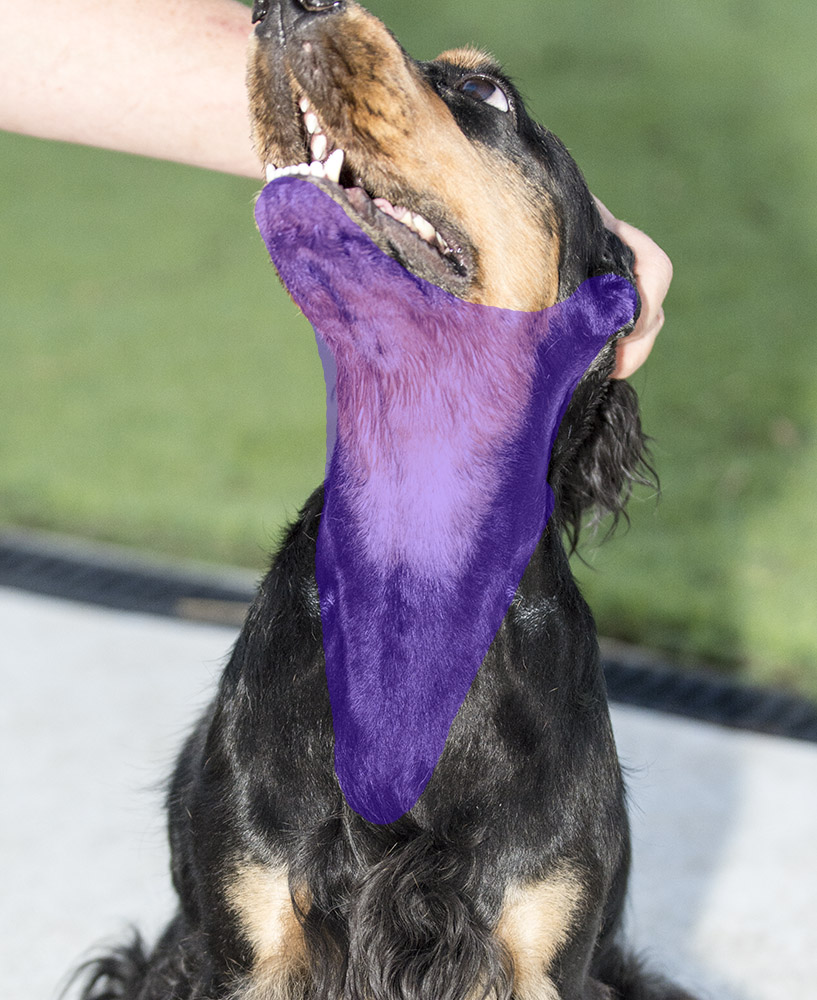
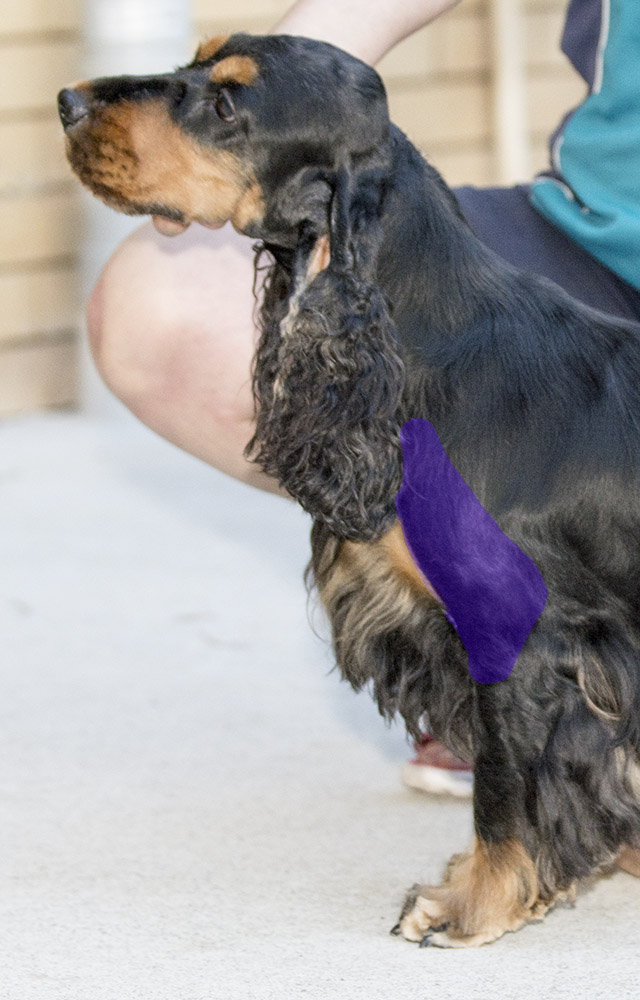
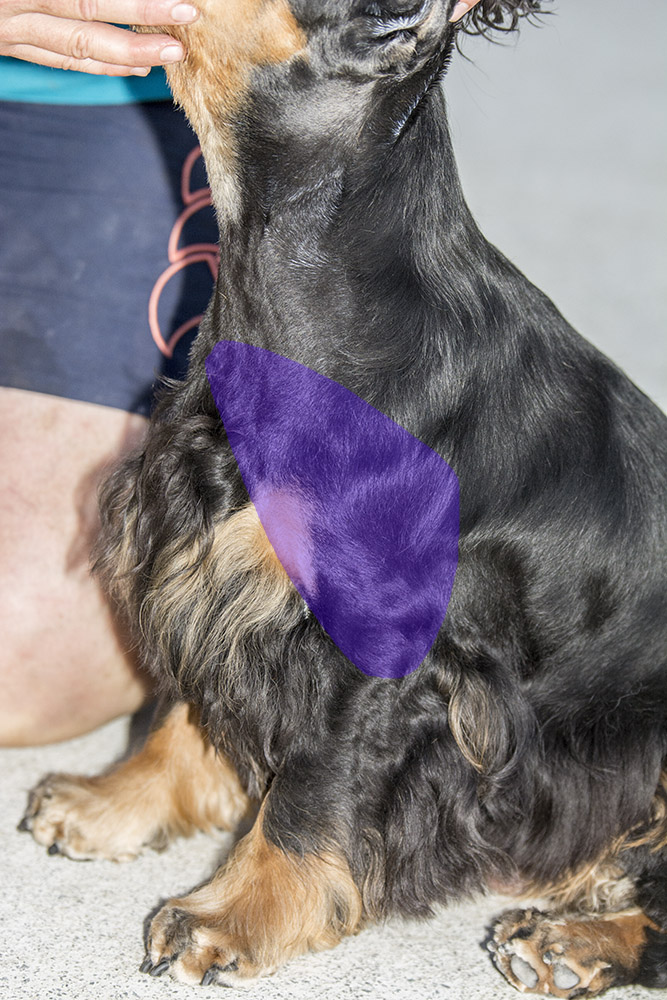
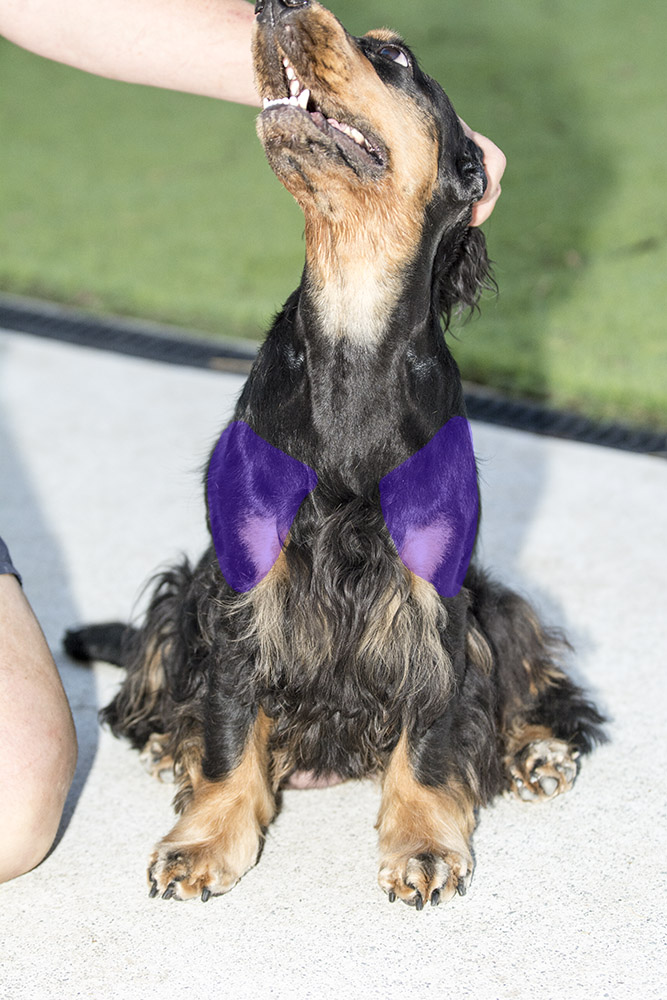
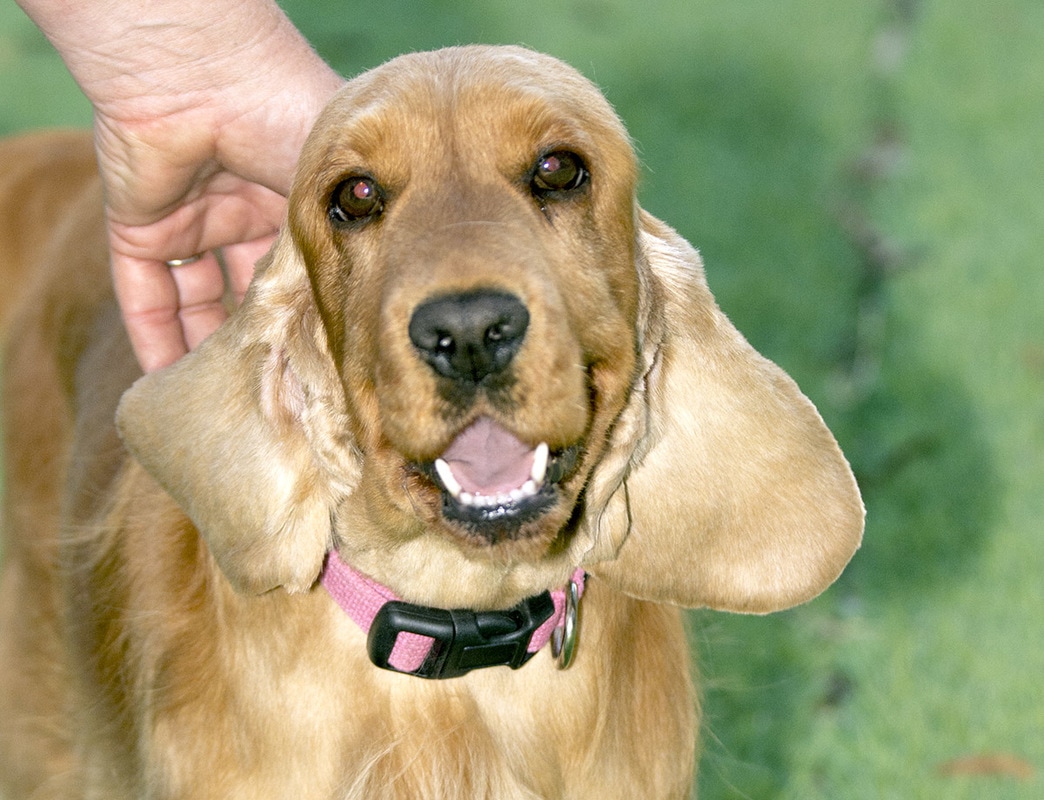
The neck is clipped in a V from both ears to just above the prosternum (ie: the bump that pokes out the front of your dog).
This is what helps to give that clean look on the dog. (See images below and blue highlighted area)
To the left and right of the blue area is to be blended with thinning scissors in order to achieve a smooth and natural transition to the longer coat on the jacket.
This is what helps to give that clean look on the dog. (See images below and blue highlighted area)
To the left and right of the blue area is to be blended with thinning scissors in order to achieve a smooth and natural transition to the longer coat on the jacket.
|
|
|
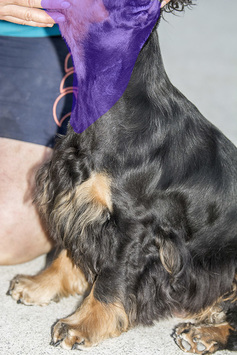
Shoulders
Now we move onto the shoulders. Draw two imaginary lines from the prosternum, to the top of your dog's front legs.
The hair inside these lines stay, the other hair becomes shorter.
If you feel you're better with clippers than thinning scissors, you can use them (probably a #7 blade at the shortest). A pair of thinning scissors will give a more natural look. You will again, need to blend into the longer coat so thinning scissors really do work the best.
If you don't feel confident doing this part, then never fear, you can leave it out completely! Just go through this area with your Coat King and be done with it.
You will see in the first image, the well defined shape of the shoulder. This is the look that you are going for. Grooming this area will provide nice definition to the front end of your dog.
|
|
|
|
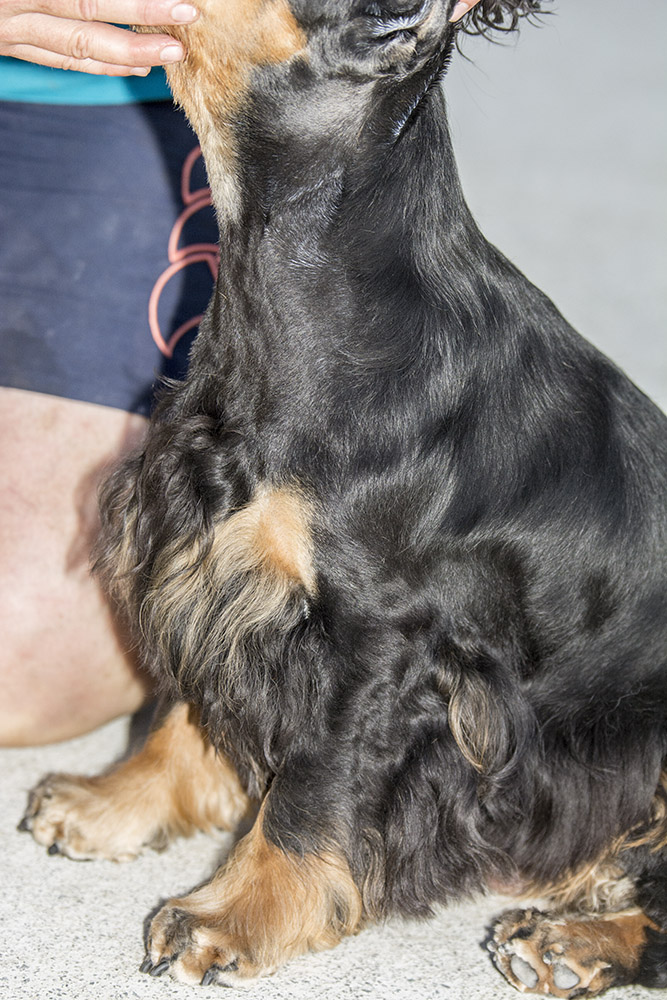
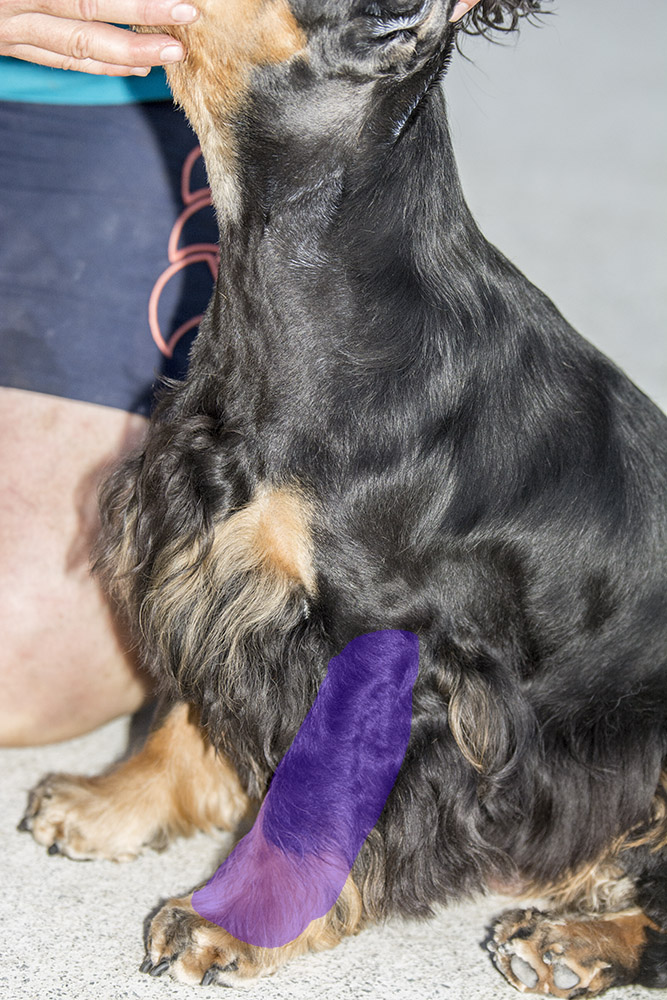
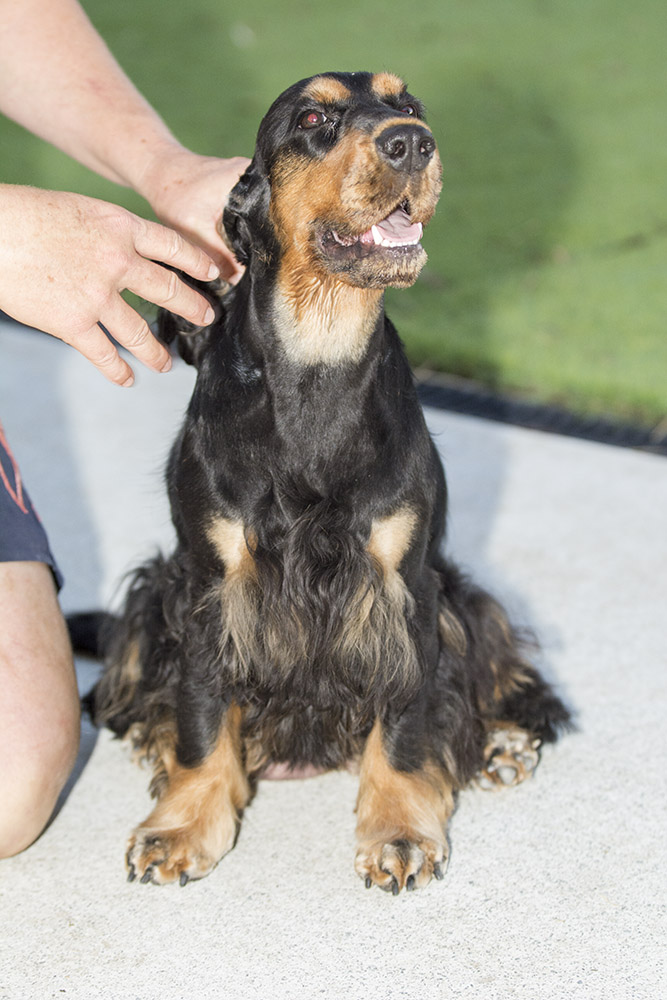
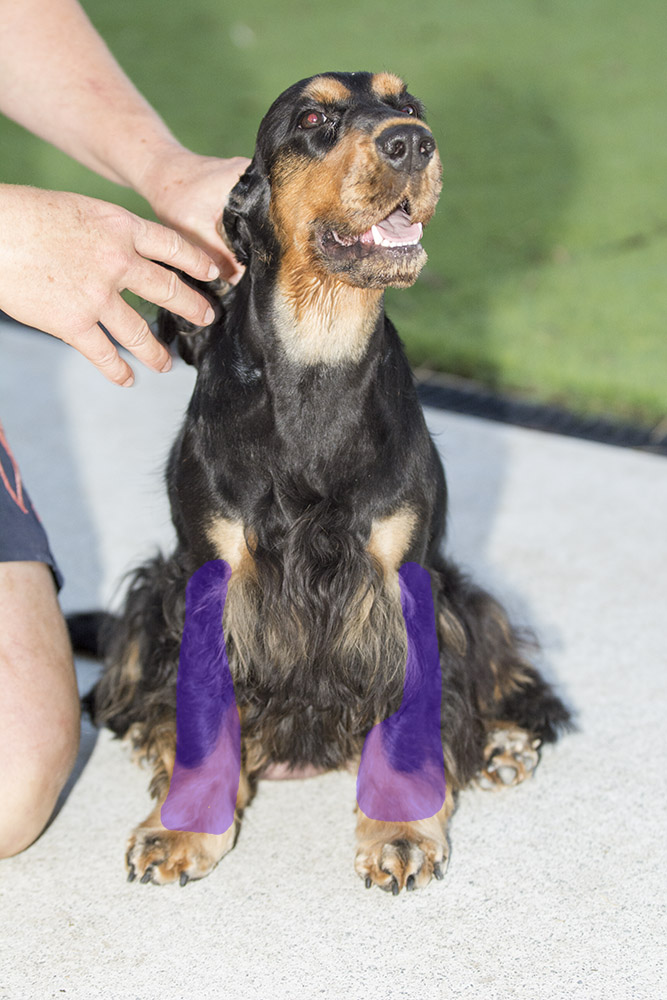
Front legs
The front legs are pretty straight forward.
Using your Coat King, strip down the front of the leg and around the outside of the leg. The outside of the leg does not wrap around to the back and is strictly the side only.
If your dog still has quite a lot of bulk, you can thin out this area with the thinning scissors. Have the tip of the scissors pointing up towards your dog's face and come under the hair, snip, comb out. Keep going if required.
At this point you can also use your thinning scissors in the feathering to shape it a little. It should not be poking out the side but should be sitting behind the front leg. This is very much fine tuning and up to you how much you want to do.
|
|
|
|
Back Legs
Back Legs
Rear (including tail)
Rear
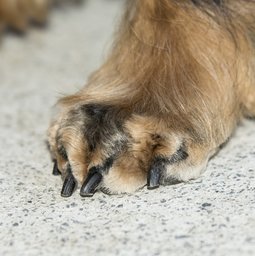
Feet
|
The feet are not the easiest part on the dog to do. Often my dogs will stand still for three of the feet and on the fourth feet, they've had enough, so it does take a lot of patience.
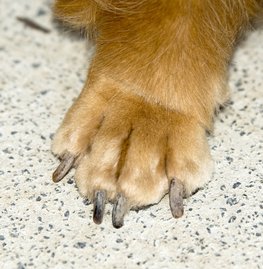
A Cocker Spaniel should have "cat like" feet. This means instead of flat feet like your hand placed palms down, fingers out that a breed such as a greyhound has, "cat like" feet is more like your hand in a fist (palm side down). They should be nice and tight and together. It is important to make sure when doing their feet, that you trim out the hair from underneath the pad so that the pad itself is free to gain traction on the ground. |
|
The feet are also trimmed neatly all the way around the edges and around the nails. They should be nice and tidy. This is a part of the dog that simply takes practice to get right. At the end of the day, if you get it wrong, the grass will hide it and the hair will grow back!
Nails
It is very important for your dog's overall structure, that their nails are kept nice and short. Ideally when the dog stands, the nails should not touch the ground and they preferably should not cause a clicking sound when the dogs walk.
Routine nail maintenance is very important! There are several ways to trim your dogs nails. Clippers, a Dremel, filing them or a scratchboard. I would recommend the Facebook group "Nail Maintenance for Dogs" as a good resource point specifically for nail maintenance. There is a lot of valuable information in their "Files" section stored on the page.
Routine nail maintenance is very important! There are several ways to trim your dogs nails. Clippers, a Dremel, filing them or a scratchboard. I would recommend the Facebook group "Nail Maintenance for Dogs" as a good resource point specifically for nail maintenance. There is a lot of valuable information in their "Files" section stored on the page.
Feathering
Feathering
Easier Maintenance Grooms
|
|
|
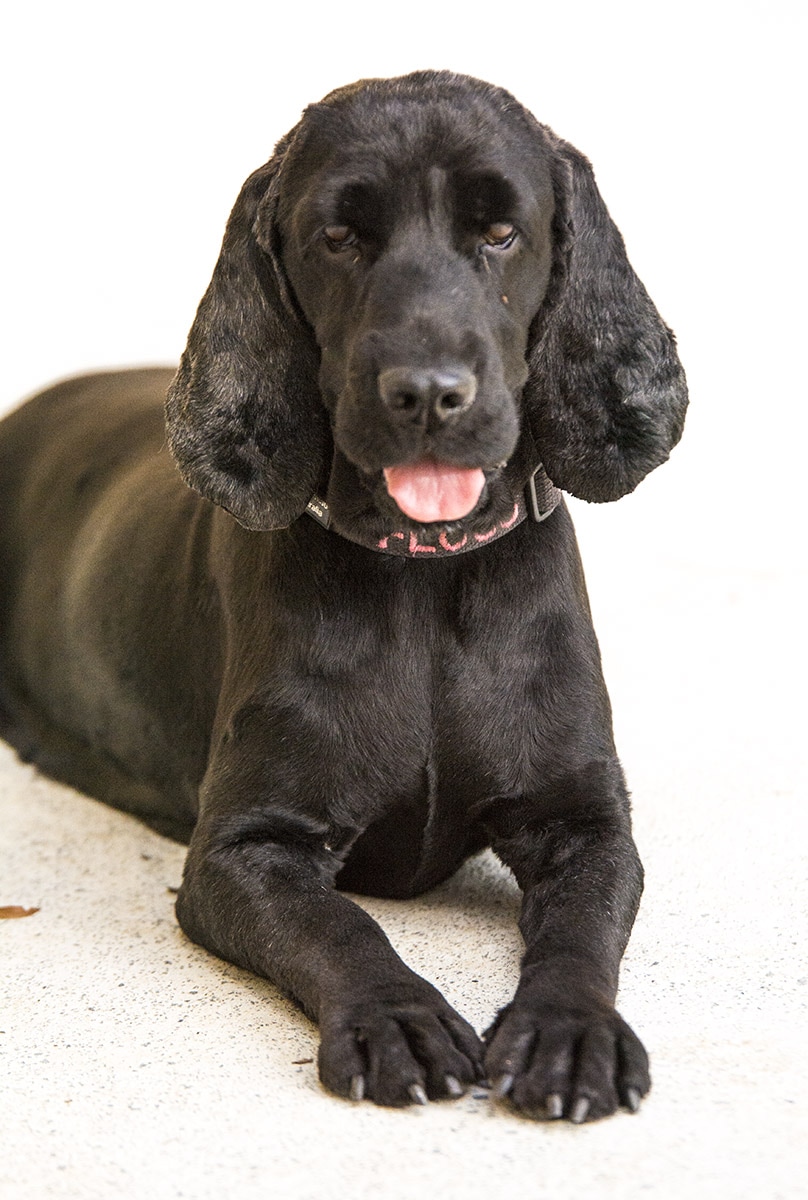
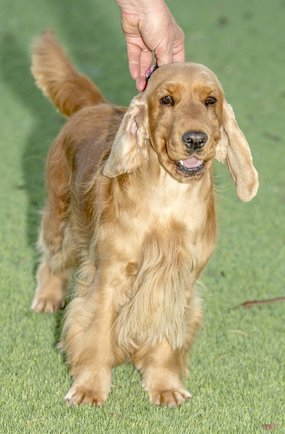
The heads on all three of the girls above are completely clipped. This means muzzle, head, and ears.
The bodies on Breeze (left) and Cookie (middle) are not clipped. Floss (right) is completely clipped.
The bodies on Breeze (left) and Cookie (middle) are not clipped. Floss (right) is completely clipped.
|
|
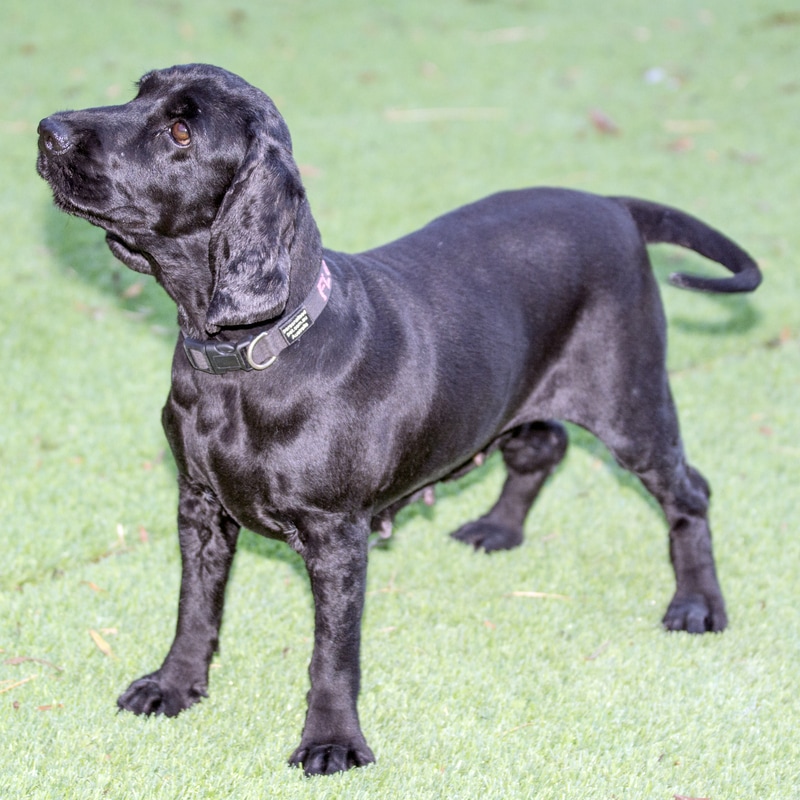
With the exception of her head, ears and feet, Breeze (left) is in show trim for the rest of her body.
Floss (right) has been completely clipped from head to tail with a #10 blade. You can also do this with a #7F or a #5 blade.
Floss (right) has been completely clipped from head to tail with a #10 blade. You can also do this with a #7F or a #5 blade.
|
If you're looking for an easier version of the feet to do, these are known as "poodle feet" as this is how poodles feet are trimmed.
This look is achieved by clipping the top, bottom, sides and inside the toes on the dog so that all fur in that area is cut back short. |
